How to Get Your Deposit Back: Cleaning Guide for Tenants
How to get your deposit back? Cleaning your apartment is vital for getting your deposit back. A spotless space shows respect and can sway your landlord’s decision. Pay special attention to kitchens and bathrooms, and don’t overlook areas like baseboards and corners.
Familiarize yourself with your lease to understand your responsibilities. Make a cleaning checklist, document your efforts, and schedule a final walkthrough with your landlord. This strategy boosts your chances of reclaiming your full deposit. There’s more to know to guarantee success.
Key Takeaways
- Ensure your apartment is spotless, focusing on kitchens and bathrooms, to leave a positive impression on your landlord.
- Familiarize yourself with lease responsibilities and document any existing damage to safeguard your deposit.
- Follow a detailed cleaning checklist for each room, covering dusting, mopping, and appliance cleaning for thoroughness.
- Use effective cleaning techniques for different surfaces, such as using damp mops for hardwood and suitable cleaners for tiles.
- Conduct a final walkthrough with the landlord, discussing cleaning efforts and documenting everything to aid deposit recovery.
Why Cleaning Is Key to Getting Your Security Deposit Back
When it comes to getting your security deposit back, cleaning can make all the difference. A spotless apartment not only shows your respect for the space but also leaves a positive impression on your landlord.
Start by tackling the kitchen; scrub surfaces, clean appliances, and wipe down cabinets. Don’t forget the bathroom—mold-free tiles and a sparkling tub can go a long way.
Dusting surfaces and vacuuming carpets are must-dos, too. Pay attention to those overlooked spots, like baseboards and window sills.
Understand Your Lease: Responsibilities and Expectations
To get your deposit back, you need to understand your lease thoroughly.
Key clauses outline your responsibilities, from maintenance to cleaning expectations. Knowing these details can make a big difference when it’s time to move out.
Key Lease Clauses
Understanding key lease clauses is essential for safeguarding your security deposit and guaranteeing you meet your responsibilities as a tenant. Familiarize yourself with clauses related to maintenance, repairs, and cleaning, as these will shape your living experience and obligations. Here’s a quick overview:
Clause Type & Importance :
- Maintenance: Guarantees the property stays in good shape
- Cleaning: Sets expectations for move-out condition
- Alterations: Outlines what changes you can make
- Termination: Details notice periods and conditions
Maintenance Responsibilities Explained
Your lease likely outlines specific maintenance responsibilities that are essential for keeping the property in good condition and ensuring your security deposit is returned. It’s important to read through these details carefully.
Typically, you’re responsible for minor repairs, like changing light bulbs or unclogging drains. If something major breaks, like a heater or plumbing issue, notify your landlord immediately.
Don’t forget to keep common areas clean and tidy, as this reflects your respect for the space. Document any existing damage when you move in; this can help protect your deposit later.
Deposit retention was named in 1,811 disputes brought to the Residential Tenancies Board in 2024, 19% of all cases, as our Irish cleaning statistics page shows.
Create Your Essential Cleaning Checklist
Creating an essential cleaning checklist is crucial for ensuring you get your deposit back. Start by listing each room in your home, then break down tasks for each area.
In the living room, dust surfaces, vacuum carpets, and clean windows. For bedrooms, focus on wiping down furniture, changing bed linens, and checking inside closets.
Don’t forget to tackle bathrooms—scrub sinks, tubs, and toilets, and make sure mirrors shine. Finally, give your entryway some love by sweeping or mopping the floor.
Keep your checklist handy and tackle one task at a time; it’ll make the process less overwhelming. By following this plan, you’ll create a welcoming space for future tenants and increase your chances of reclaiming that deposit.
Kitchen Cleaning Tips for Grease and Stains
When it comes to tackling grease and stains in the kitchen, you’ve got some powerful tools at your disposal.
You can use effective degreasing solutions and smart stain removal techniques to make your space shine.
Don’t forget to wrap up with a final touch cleaning checklist to guarantee you leave everything spotless.
Effective Degreasing Solutions
Although grease can be one of the toughest challenges in kitchen cleaning, effective degreasing solutions are within your reach.
Start with a simple mixture of equal parts vinegar and water; spray it on greasy surfaces and let it sit for a few minutes. Wipe it clean with a microfiber cloth, and you’ll be amazed at the results.
For stubborn spots, consider using baking soda as a gentle abrasive. Just sprinkle it on the grease, add a few drops of water, and scrub away.
If you prefer store-bought options, look for natural degreasers that are safe for both your home and the environment.
With these solutions in hand, you’ll tackle that grease and feel right at home in your clean kitchen.
Stain Removal Techniques
Stains can be a kitchen nightmare, but with the right techniques, you can tackle them effectively.
Start by addressing grease stains; a mixture of baking soda and water works wonders. Apply it to the stain, let it sit for 15 minutes, then scrub gently with a sponge.
For food stains, white vinegar and dish soap create a powerful combo. Mix equal parts, apply, and wipe clean with a damp cloth.
Don’t forget to check for stubborn stains on countertops and appliances; a magic eraser can be your best friend here.
Finally, always rinse surfaces well after cleaning to avoid residue buildup.
With these techniques, you’ll feel proud of your kitchen and ready to impress your landlord!
Final Touch Cleaning Checklist
To guarantee your kitchen shines and is free from grease and stains, follow this final touch cleaning checklist.
Start by wiping down all surfaces with a degreaser, focusing on countertops and cabinet fronts. Don’t forget to tackle the stovetop—use a scraper for stubborn spots.
Next, clean the inside of your microwave with a mixture of water and vinegar; it’ll make the grime easier to wipe away.
For your sink, scrub with baking soda and rinse thoroughly.
Finally, give your floors a good sweep and mop to remove any lingering dirt.
A sparkling kitchen not only looks great but also gives you peace of mind, ensuring you’re ready to reclaim that deposit without worries.
Happy cleaning!
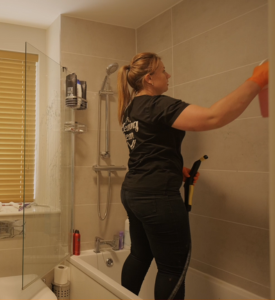
Deep Clean Your Bathroom to Secure Your Deposit
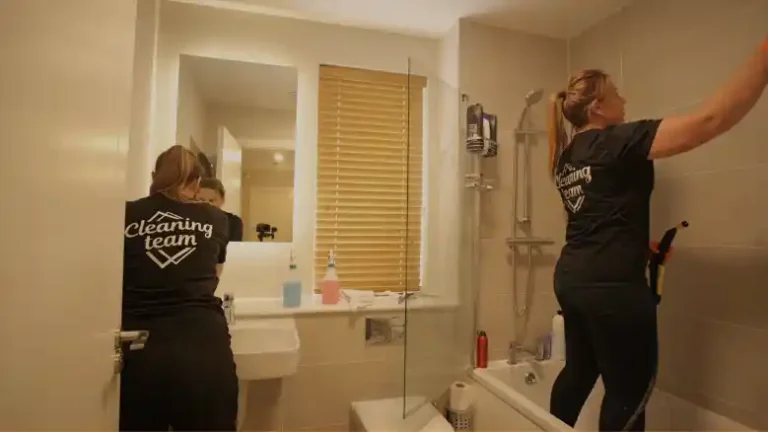
A thorough bathroom deep clean can make a significant difference in guaranteeing your deposit back.
Start by tackling the toilet; scrub it inside and out, paying special attention to stubborn stains.
Next, focus on the sink and countertop, removing any soap scum or grime.
Focus on the sink and countertop, ensuring all soap scum and grime are thoroughly removed for a spotless finish.
Don’t forget to clean the mirrors until they shine.
For the shower or tub, use a powerful cleaner to eliminate soap residue and mildew.
Wipe down tiles and grout, confirming everything looks fresh.
Finally, mop the floor and confirm there’s no hair left behind.
Dusting and Vacuuming Tips for Living Areas
Once you’ve tackled the bathroom, turn your attention to the living areas, where dust and dirt can accumulate quickly.
A clean living space not only feels inviting but also shows your landlord you care.
Here are some essential tips for dusting and vacuuming:
- Dust First: Start from the top—ceiling fans and shelves—and work your way down. Use a microfiber cloth to trap dust effectively.
- Prioritize High-Traffic Areas: Pay extra attention to spots like the living room and entryway where dirt is likely to gather.
- Vacuum Thoroughly: Use a vacuum with a good filter and attachments to get into corners and under furniture.
Shine Your Windows and Blinds Like a Pro
While it may seem like an intimidating task, shining your windows and blinds can considerably brighten up your living areas and impress your landlord.
Start with a simple solution of equal parts vinegar and water in a spray bottle. Spray the mixture on your windows and wipe them down with a microfiber cloth for a streak-free shine. Don’t forget to clean the edges and corners for that polished look.
For your blinds, use a vacuum attachment to remove dust, then dampen a cloth with the same solution and wipe each slat. Remember to work from top to bottom.
Taking the time to make your windows and blinds sparkle not only enhances your space but also shows your commitment to leaving the property in great condition.
Floor Cleaning Best Practices for All Types
After you’ve made your windows and blinds shine, it’s time to tackle the floors.
A clean floor not only enhances your space but also helps you get that deposit back. Here are three best practices for cleaning different types of flooring:
- Hardwood Floors: Use a damp mop and a gentle cleaner. Avoid excessive water to prevent warping.
- Tile Floors: Sweep and then mop with a suitable tile cleaner. Pay special attention to grout lines for a thorough clean.
- Carpets: Vacuum thoroughly and consider using a carpet cleaner for stubborn stains. Don’t forget to check for any lingering odors!
Remove Scuffs With These Wall and Baseboard Tricks
Even if your floors are spotless, scuff marks on walls and baseboards can detract from your home’s overall appearance.
To tackle those pesky marks, grab a magic eraser or a damp cloth with a bit of dish soap. Gently rub the scuffs in circular motions until they disappear.
For stubborn marks, a paste of baking soda and water can work wonders—apply it, let it sit for a minute, then wipe clean.
Don’t forget to check corners and edges, too; those areas often gather dirt.
Finally, for baseboards, a touch of paint can cover any remaining blemishes.
With these tricks, you’ll restore your space’s charm and keep that deposit safe. Your home deserves to shine!
Appliance Cleaning: Fridge, Oven, and Microwave Tips
Cleaning your appliances is vital for getting your deposit back.
Start with essential fridge cleaning techniques, tackle the oven with deep cleaning steps, and don’t forget those pesky microwave stains.
Keeping everything spotless not only helps you secure your deposit but also leaves a good impression.
Fridge Cleaning Essentials
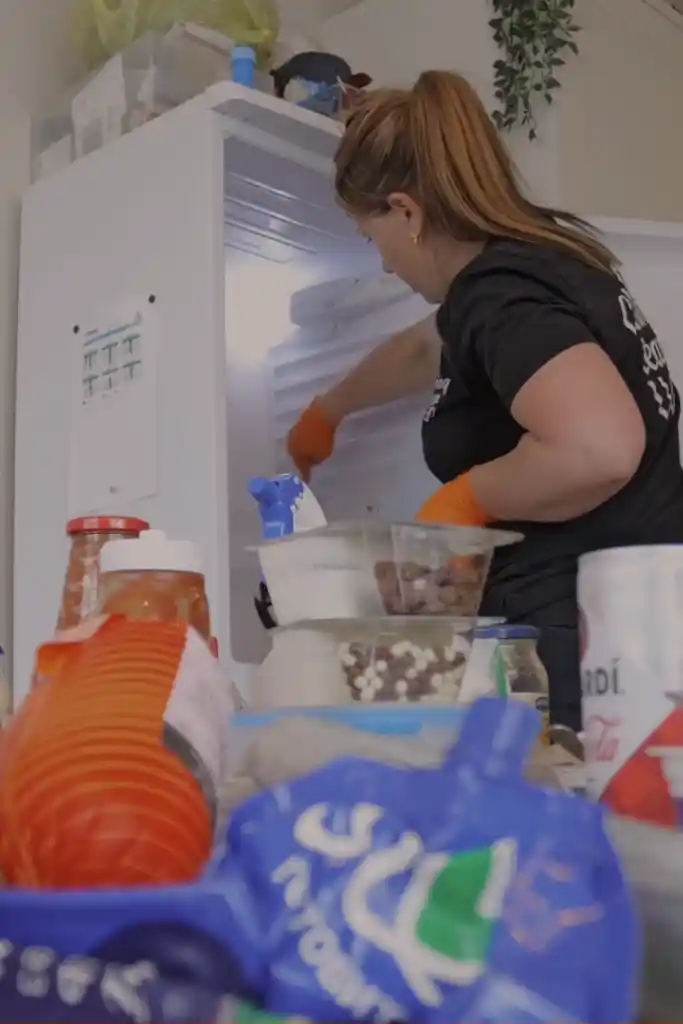
While a spotless fridge can seem challenging, tackling the task with the right essentials makes it much easier. Gather your supplies and get ready to reclaim your fridge’s sparkle. Here’s what you’ll need:
- All-Purpose Cleaner: Choose a safe, non-toxic cleaner that cuts through grime without harsh chemicals.
- Microfiber Cloths: These are great for wiping surfaces without leaving lint or scratches.
- Baking Soda: A natural deodorizer that helps eliminate odors when mixed with water for scrubbing.
Start by emptying your fridge and tossing expired items.
Then, spray and wipe down all surfaces with your cleaner, using the cloths to reach every nook.
Finally, sprinkle some baking soda inside to keep things fresh.
You’ve got this!
Oven Deep Cleaning Steps
Before you plunge into oven deep cleaning, gather your materials to make the process smooth and effective. You’ll need baking soda, vinegar, a spray bottle, a scrub brush, and some microfiber cloths.
Start by removing any racks and trays. Mix baking soda with a little water to create a paste, then apply it generously to the oven’s interior, avoiding the heating elements. Let it sit for a few hours, or overnight if the grime is tough.
Afterward, spray vinegar over the baking soda paste; it’ll fizz and help lift dirt. Wipe everything down with a damp cloth, and don’t forget the racks!
With a little elbow grease, your oven will shine, helping you secure that deposit back.
Microwave Stain Removal Tips
Microwave stains can be stubborn, but with the right approach, you can tackle them effectively.
Here are three simple tips to help you restore your microwave to its sparkling best:
- Steam Cleaning: Fill a microwave-safe bowl with water and add a slice of lemon. Microwave for 5 minutes, letting the steam loosen grime. Wipe it clean with a cloth afterward.
- Baking Soda Paste: Mix baking soda and water to form a paste. Apply it to tough stains, let it sit for 10 minutes, then scrub gently with a sponge.
- Vinegar Spray: Combine equal parts vinegar and water in a spray bottle. Spray inside, let it sit for a few minutes, then wipe away with a cloth.
These methods will make your microwave shine, helping you feel at home in your space!
Tidy Up Outdoor Spaces: Patios and Balconies
One of the easiest ways to guarantee you get your deposit back is by tidying up your outdoor spaces, like patios and balconies. A clean, inviting space not only feels welcoming but also shows your landlord you care.
| Task | Frequency | Tools Needed |
| Sweep the area | Weekly | Broom, Dustpan |
| Clean furniture | Monthly | Cloth, All-purpose cleaner |
| Water plants | As needed | Watering can |
Start by clearing debris, then wipe down furniture. If you’ve got plants, give them a good drink. Finally, consider adding a few decorative touches to make the area feel like home. A tidy outdoor space leaves a good impression and boosts your chances of getting that deposit back!
Organize Your Cleaning Supplies for Efficiency
A well-organized cleaning supply area can greatly enhance your efficiency when preparing to move out.
By setting up your cleaning supplies thoughtfully, you’ll save time and energy. Start by gathering everything you need in one spot, then categorize them for easy access.
Organizing your cleaning supplies not only saves time but also enhances your efficiency for a smoother moving process.
Here’s a simple way to organize:
- Daily Cleaners: Keep all-purpose cleaner, sponges, and microfiber cloths together for quick daily tasks.
- Specialized Cleaners: Store products for specific areas like glass cleaner, bathroom cleaner, and floor polish in a separate section.
- Tools & Accessories: Group brooms, mops, and vacuum cleaners in a dedicated area so you can grab them when needed.
With your supplies organized, you’ll feel more in control and ready to tackle the cleaning tasks ahead.
Plan Your Cleaning Day: Time Management Tips
When planning your cleaning day, it’s essential to prioritize tasks and allocate time effectively to avoid feeling overwhelmed.
Start by making a detailed list of areas that need attention, like the kitchen, bathroom, and living spaces. Break your day into manageable chunks—perhaps two-hour blocks—focusing on one room at a time.
Set a timer to keep you on track; this can help you maintain momentum and stay motivated. Don’t forget to include short breaks to recharge.
Finally, enlist a friend or family member to join you; working together not only makes the task more enjoyable but also fosters a sense of community.
With a solid plan, you’ll get your deposit back without the stress!
Final Walkthrough: Key Checks Before Handing Over Keys?
How can you guarantee everything’s in order before handing over the keys? A final walkthrough is essential to verify the property is in top shape.
Here are three key checks you shouldn’t skip:
- Cleanliness: Verify all rooms are spotless, including floors, windows, and appliances. A clean home reflects your respect for the space.
- Repairs: Look for any damages and address them. Check walls for scuffs, and verify all fixtures work properly. A well-maintained property speaks volumes.
- Personal Belongings: Double-check that you’ve removed all your items. Leaving behind personal belongings can lead to unnecessary deductions from your deposit.
Document Your Cleaning: Snap Photos and Take Notes
Documenting your cleaning is a smart move that can save you headaches later. As you scrub, dust, and declutter, grab your phone and snap photos of each room. Capture those sparkling countertops, freshly vacuumed carpets, and spotless bathrooms.
These images serve as proof of your hard work and can be invaluable during your move-out inspection.
Alongside photos, take notes on what you cleaned or any repairs made, like touch-ups on walls or fixing leaky faucets. This documentation not only showcases your efforts but also helps you stay organized.
When it’s time to discuss your deposit, you’ll have solid evidence to back you up. Remember, a little preparation now can lead to a smoother shift and a full refund later!
Frequently Asked Questions
Conclusion
By following this cleaning guide, you’re not just removing dirt — you’re boosting your chances of getting your full security deposit back. With a solid plan and plenty of effort, you can turn a lived-in apartment into a spotless, inspection-ready home.
That said, if you’d rather skip the stress and time commitment, Cleaning Team is here to help. Our professional end of tenancy cleaners handle every detail to landlord and letting-agent standards, so you can hand back the keys with confidence — and walk away with your deposit intact.