Post-Construction Cleaning Checklist for Homeowners
After construction, follow our post-construction cleaning checklist for homeowners to ensure a safe, comfortable space. Start by gathering essentials like a broom, vacuum, microfiber cloths, and disinfectants.
Begin dusting from high surfaces down to floors, then tackle windows and glass with a streak-free cleaner. Don’t forget to check vents and light fixtures for debris. You might want to add air fresheners for a pleasant scent. Curious about maintaining that clean feel long-term? There’s more to discover!
Key Takeaways
- Begin by dusting high surfaces like ceiling fans and light fixtures, gradually working downward to furniture and baseboards.
- Clean windows and glass surfaces with quality glass cleaner and microfiber cloths for a streak-free finish.
- Vacuum all floors using a HEPA filter vacuum, then mop with a gentle cleaner, allowing to air dry.
- Sanitize kitchen surfaces, including cabinets and food containers, and disinfect bathroom countertops, sinks, and fixtures.
- Remove debris, use air fresheners, and promote ventilation by opening windows to eliminate odors and enhance air quality.
Importance of Post-Construction Cleaning
Post-construction cleaning is essential because it guarantees that your new space is safe, functional, and inviting.
When you step into your freshly renovated home, you want to feel a sense of belonging, not overwhelmed by dust and debris. A thorough clean-up guarantees that all the leftover materials, like sawdust and paint splatters, are removed, allowing you to enjoy your new surroundings fully.
You deserve to create memories in a space that reflects your style without the distractions of construction residue. Plus, a clean environment promotes better health and comfort, making it easier for you to settle in.
Safety First: Gear Up for Cleaning
Before you start the cleaning process, it’s important to gear up properly. Safety should always be your top priority, especially in a post-construction environment.
First, grab a pair of sturdy gloves to protect your hands from sharp objects and debris. Don’t forget safety goggles to shield your eyes from dust and flying particles. A mask is vital too; it’ll help you breathe easier when tackling those dusty corners.
Wear closed-toe shoes with good traction to prevent slips and falls. If you’re dealing with heavy items, consider a back support belt to avoid injury.
Gather Your Cleaning Supplies and Tools
As you prepare to tackle the cleaning task, gathering the right supplies and tools is essential for an efficient process.
Start with a sturdy broom and dustpan to sweep away debris. You’ll need microfiber cloths for dusting surfaces and a vacuum cleaner for those stubborn particles.
Don’t forget a bucket and mop for your floors, along with all-purpose cleaners to tackle various surfaces. Rubber gloves will protect your hands while you work, and a scraper can help remove paint or stubborn residue.
Consider having trash bags handy for quick disposal of waste.
By assembling these items, you’re not just organizing; you’re creating a welcoming environment in your new space.
You’ve got this!
Start With Dusting: High to Low
Starting your cleaning process with dusting is essential, and it’s best to work from high to low.
Begin with ceiling fans, light fixtures, and shelves. Use a microfiber cloth or duster to catch dust effectively, ensuring you don’t spread it around.
As you move down, tackle furniture surfaces, window sills, and baseboards. This method keeps the dirt from settling on areas you’ve already cleaned.
Don’t forget those hidden spots, like the tops of cabinets, where dust loves to hide. Make it a point to check for cobwebs in corners, too.
By dusting in this order, you’ll create a fresh and welcoming space, making your home feel even more like your own.
Happy cleaning!
Clean Windows and Glass Surfaces
Cleaning windows and glass surfaces is essential for achieving a polished look after construction.
You’ll need to gather the right supplies and use effective techniques to guarantee a streak-free finish.
After cleaning, always inspect for any remaining streaks to confirm your hard work shines through.
Gather Necessary Cleaning Supplies
To tackle windows and glass surfaces effectively, you’ll need a few essential cleaning supplies.
Start with a quality glass cleaner that cuts through grime without streaking. Microfiber cloths are a must; they’re gentle yet effective, making your glass shine without scratching. A squeegee will help you achieve that professional finish, ensuring no water spots are left behind.
Don’t forget a bucket for mixing your cleaning solutions, along with a sturdy ladder if you’re reaching high windows. If you’re up for it, a spray bottle can be handy for easy application.
Gather these supplies, and you’ll feel confident and ready to make your windows sparkle, creating a welcoming atmosphere in your newly constructed home.
Use Proper Cleaning Techniques
Achieve crystal-clear windows by using the right techniques. You want to make your home shine, and clean windows play a big role in that. Here’s a quick guide to get you started:
- Choose the Right Cleaner: Use a glass cleaner or a vinegar-water solution for a streak-free shine.
- **Use a *Microfiber Cloth***: Ditch the paper towels; microfiber cloths trap dirt and leave your glass spotless.
- Work from Top to Bottom: Start at the top of the window and work your way down to catch any drips, ensuring an even clean.
With these simple steps, you’ll feel proud of your sparkling windows, making your home warm and inviting for everyone who walks through the door.
Inspect for Streaks
Once you’ve applied the right cleaning techniques to your windows, it’s time to inspect for streaks.
Grab a microfiber cloth and take a close look at each pane. You’ll want to check from different angles, as sunlight can highlight imperfections you might miss otherwise.
If you notice any streaks, don’t worry—it happens to the best of us! Just dampen your cloth with a bit of glass cleaner and wipe the affected areas again.
Remember, clean windows not only brighten your home but also create a welcoming atmosphere for family and friends.
You’re part of a community that values a fresh, inviting space, and you’re doing great. Keep at it, and soon your windows will sparkle just like the rest of your beautiful home!
Remove Paint and Adhesive Residues
After cleaning your windows, it’s time to tackle paint and adhesive residues.
Start by identifying the types of residue you’re dealing with, as this will guide your choice of solvents.
Once you’ve got the right tools, you can apply effective scraping techniques to get surfaces spotless.
Identify Residue Types
As you tackle post-construction cleaning, identifying and removing residue types like paint and adhesive is essential for achieving a polished finish.
Knowing what you’re dealing with makes the process smoother and guarantees your home feels inviting. Here are three common residue types you might encounter:
- Paint Splatter: Often found on floors or trim, this can be tricky but manageable with the right approach.
- Adhesive Marks: These sticky remnants may cling to surfaces, leaving your space feeling unfinished.
- Caulk Residue: This can create unsightly lines around windows and doors if not properly addressed.
Use Appropriate Solvents
Identifying residue types is just the beginning; knowing how to effectively remove them is key to achieving a clean space.
For paint and adhesive residues, choose solvents that match the specific material. For water-based paint, a mix of warm water and soap often does the trick. If you’re dealing with oil-based paints, mineral spirits or paint thinner can help dissolve those stubborn spots.
Adhesives may require rubbing alcohol or a commercial adhesive remover. Always test a small area first to verify it won’t damage your surfaces.
Remember to wear gloves and provide proper ventilation, making your cleaning process safer and more comfortable. With the right solvents, you’ll create a welcoming environment that feels fresh and inviting.
Apply Scraping Techniques
Scraping away paint and adhesive residues requires the right tools and techniques to guarantee a clean finish.
With just a bit of effort, you can transform your space. Here’s how to get started:
- Choose the Right Scraper: Use a putty knife or a specially designed scraper to effectively lift the residue without damaging surfaces.
- Work in Small Sections: Focus on one area at a time. This helps you maintain control and assures you don’t miss spots.
- Apply Steady Pressure: Use even pressure while scraping to avoid gouging the surface. Take your time to achieve a smooth result.
Address Flooring: Vacuum and Mop
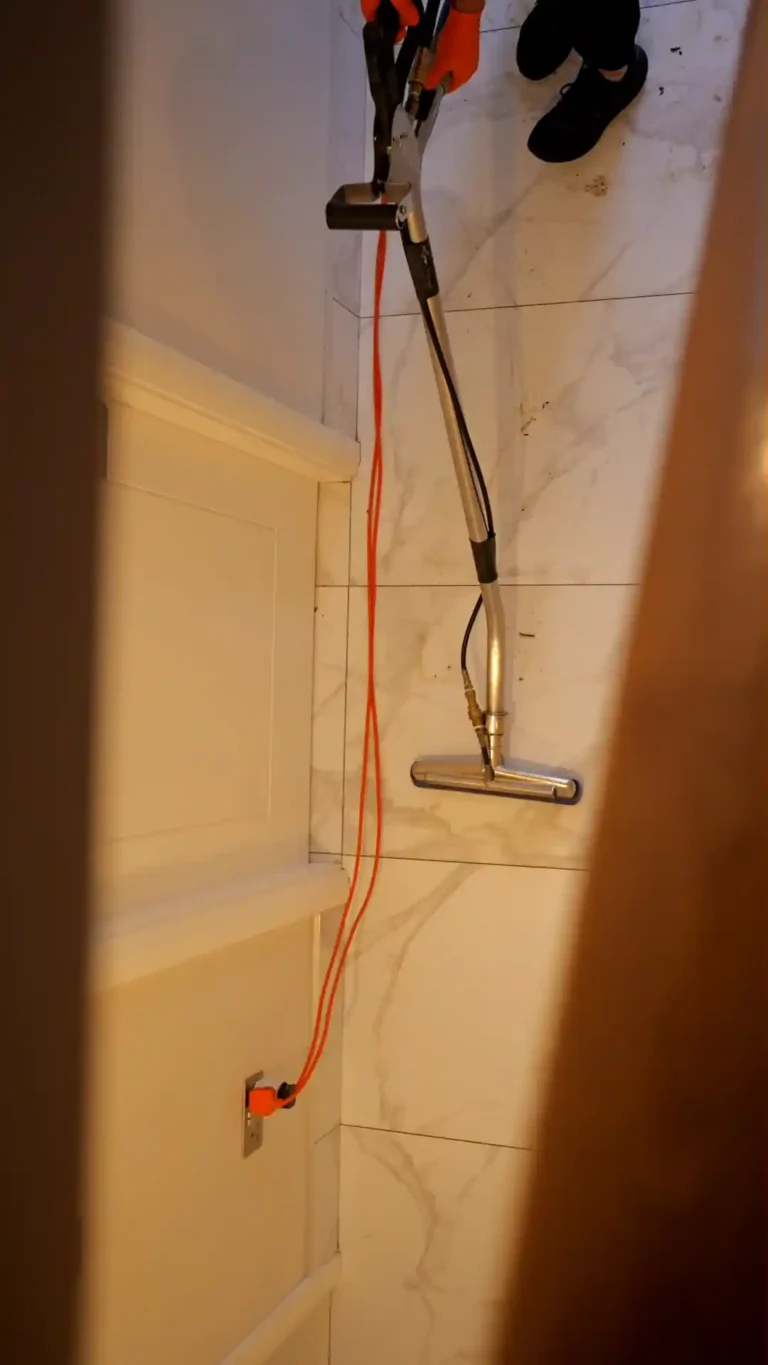
To tackle the post-construction mess effectively, start by vacuuming and mopping your floors. This step not only eliminates dust and debris but also sets the stage for a clean, welcoming home. Use a high-quality vacuum to pick up larger particles, then follow up with a mop to capture finer dust.
Here’s a quick guide to help you:
| Task | Tips | Frequency |
| Vacuum | Use a HEPA filter vacuum | After every room |
| Mop | Choose a gentle, suitable cleaner | Once after vacuuming |
| Dry | Allow floors to air dry | N/A |
Wipe Down Walls and Baseboards
Wiping down the walls and baseboards is essential for removing lingering dust and construction residue. This step not only enhances your home’s appearance but also contributes to a healthier living environment.
Here’s how to make it effective:
- Gather Supplies: Get a microfiber cloth, a bucket of warm soapy water, and a soft sponge.
- Start from the Top: Begin at the top of the wall and work your way down. This prevents dirt from falling onto already cleaned areas.
- Don’t Forget the Baseboards: Pay special attention to the baseboards, as they often collect dust and dirt.
Sanitize Kitchen Surfaces and Cabinets
While you might think your kitchen is clean after construction, sanitizing surfaces and cabinets is essential for ensuring a safe and healthy space.
Start by gathering your supplies: a mild disinfectant, microfiber cloths, and a scrub brush. Wipe down countertops, tables, and backsplashes, paying attention to any hidden corners or seams where dust might linger.
Gather your supplies—mild disinfectant, microfiber cloths, and a scrub brush—to thoroughly wipe down all surfaces and hidden corners.
Don’t forget cabinet exteriors and handles, as these areas can harbor germs. For the interior, remove items and clean shelves thoroughly before replacing everything.
If you’ve got any food containers, make sure they’re sanitized too. This way, you create a welcoming environment where your family and friends can gather without worry.
A clean kitchen not only feels good but fosters connection and comfort in your home.
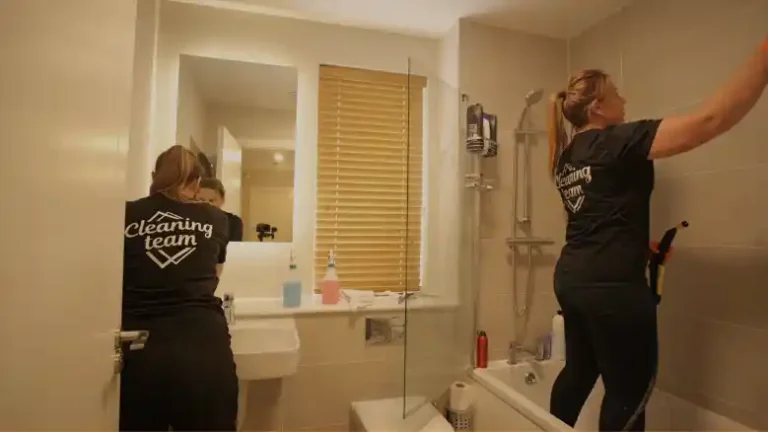
Thoroughly Clean and Sanitize Bathrooms
As you prepare to tackle the bathrooms, remember that a thorough cleaning and sanitization process is vital for maintaining a healthy home environment.
To guarantee every inch sparkles and feels welcoming, follow these steps:
- Clean Surfaces: Wipe down countertops, sinks, and mirrors with a disinfectant solution to eliminate dust and grime.
- Scrub the Toilet: Use a toilet bowl cleaner and brush to scrub inside, then disinfect the exterior, including the handle.
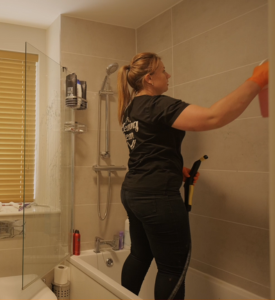
- Sanitize the Shower and Tub: Remove any construction debris and use a strong cleaner to tackle soap scum and mildew, leaving it fresh and inviting.
Organize Leftover Materials After Post-Construction Cleaning
Leftover materials from a construction project can quickly turn a newly cleaned space into a cluttered mess. To foster a sense of belonging in your home, it’s essential to organize these materials effectively.
Start by sorting items into categories, like keep, donate, or discard. This not only clears your space but also allows you to share excess materials with others in your community.
| Keep | Store safely |
| Donate | Help others |
| Discard | Waste management |
| Recycle | Protect the planet |
| Sell | Gain some funds |
Taking these steps can help you reclaim your space and create an environment where you truly feel at home.
Inspect Vents and Light Fixtures for Dust
Once you’ve cleared the clutter, it’s vital to inspect the vents and light fixtures for dust accumulation.
After decluttering, don’t forget to check vents and light fixtures for dust buildup to ensure a fresh, clean home.
These areas often collect dust during construction, and a thorough cleaning guarantees a fresh environment for you and your family.
Here’s what you should focus on:
- Vents: Check both intake and exhaust vents for dust buildup. Use a vacuum with a brush attachment to remove debris.
- Light Fixtures: Dust can settle on light fixtures, dimming their brightness. Wipe them down with a microfiber cloth to restore their shine.
- Ceiling Fans: Don’t forget ceiling fans! Dusting the blades helps make sure they’re clean during operation.
Taking these steps not only enhances your home’s appearance but also contributes to a healthier living space.
Add Air Fresheners and Eliminate Odors
After you’ve tackled the dust, it’s time to focus on odors lingering from the construction process.
Start by choosing effective air fresheners that suit your space, and make certain to identify the sources of any unpleasant smells.
Don’t forget to ventilate your area to guarantee fresh air circulates and keeps your home smelling clean.
Choose Effective Air Fresheners
How can you effectively eliminate lingering odors after construction? Choosing the right air fresheners can make a world of difference. Here are three effective options to evaluate:
- Natural Essential Oils: Use a diffuser with oils like lemon or lavender to create a fresh, inviting atmosphere.
- Activated Charcoal: Place bowls of activated charcoal around your space. It absorbs odors naturally without masking them.
- Baking Soda: Sprinkle baking soda in carpets and upholstery. Let it sit for a few hours before vacuuming to help neutralize unpleasant scents.
Identify Odor Sources
Although air fresheners can mask odors temporarily, identifying and eliminating the sources of those smells is essential for lasting freshness.
Start by checking common culprits like damp areas, hidden trash, and leftover construction materials. You might find that a lingering smell comes from paint or adhesive that hasn’t fully dried.
It’s also wise to inspect fabrics, like curtains or upholstery, which can trap odors. Once you locate the sources, clean them thoroughly or replace materials if necessary.
You’ll create a welcoming environment for yourself and loved ones. Remember, the goal is to foster a space where everyone feels comfortable and at home, free from unpleasant odors.
Your efforts will truly make a difference in your living space.
Ventilate Your Space
Once you’ve identified and addressed the sources of unpleasant odors, it’s time to focus on ventilation. Proper airflow not only helps eliminate lingering smells but also creates a fresh environment where you and your loved ones can thrive.
Here are three easy ways to boost ventilation and enhance your space:
- Open Windows and Doors: Let fresh air circulate by opening windows and doors whenever possible, especially on nice days.
- Use Fans: Position fans strategically to promote airflow, directing stale air outside while bringing in fresh air.
- Add Air Fresheners: Consider using natural air fresheners like essential oils or scented candles to mask any stubborn odors and create a welcoming atmosphere.
With these steps, you’ll create a space that feels inviting and comfortable for everyone.
Should You Hire Cleaning Pros?
Are you wondering whether to hire cleaning professionals after your construction project? You’re not alone—many homeowners face this decision.
If you’ve just gone through a renovation, you’re likely feeling overwhelmed by dust and debris. Hiring pros can save you time and stress, letting you focus on enjoying your newly renovated space.
These experts know exactly how to tackle post-construction messes, ensuring every nook and cranny shines. Plus, they’ve the right tools and products to get the job done efficiently.
If you want your home to feel fresh and welcoming without the headache of cleaning it yourself, hiring a cleaning service might be the best choice for you.
After all, you deserve to enjoy your home without the hassle!
Tips for Maintaining Cleanliness After Renovation
To keep your newly renovated space looking fresh, you’ll want to establish a regular dusting schedule.
Using effective cleaning products can make a big difference in maintaining that polished look.
Let’s explore how these simple habits can help you enjoy your home for years to come.
Regular Dusting Schedule
A consistent dusting schedule is essential for keeping your newly renovated space clean and inviting.
Regular dusting not only enhances the beauty of your home but also promotes a healthier environment for you and your loved ones.
Here’s a simple plan to get you started:
- Weekly Dusting: Focus on high-traffic areas like living rooms and kitchens to prevent dust buildup.
- Bi-Weekly Touch-Ups: Don’t forget less-used spaces like guest rooms or home offices; they need attention too!
- Seasonal Deep Clean: Once a season, tackle hard-to-reach spots like ceiling fans and baseboards to keep everything fresh.
Effective Cleaning Products
While renovating your home can be exciting, maintaining that fresh look requires the right cleaning products. You want products that not only clean effectively but also guarantee your space feels inviting. Here’s a handy guide to get you started:
| Product Type | Purpose | Recommended Brand |
| All-Purpose Cleaner | General surface cleaning | Mrs. Meyer’s |
| Glass Cleaner | Streak-free shine on windows | Windex |
| Floor Cleaner | Safe for various flooring types | Bona |
| Disinfectant Wipes | Quick sanitation of surfaces | Clorox |
Using these products regularly will help you keep your home looking pristine. Remember, a clean home fosters a welcoming environment for family and friends alike!
Frequently Asked Questions
Conclusion
After all your hard work, you deserve a clean, fresh space. By following this post-construction cleaning checklist, you’re ensuring safety, enhancing comfort, and creating a welcoming environment.
Whether you tackle the cleanup yourself or leave it to the experts, Cleaning Team can handle the post-construction mess efficiently, leaving your home spotless and inspection-ready. Embrace the joy of your renovated space, enjoy the beauty of your surroundings, and relax knowing the cleanup is completely taken care of. You’ve earned it!