How to Replace a Dryer Heating Element: A Step-by-Step Guide
When your dryer stops heating, it can be frustrating, but replacing the heating element isn’t as complicated as it might seem. You’ll need a few basic tools and to take some safety precautions, like unplugging the machine.
Once you access the heater assembly, you’ll find the process straightforward, but there are critical steps to ensure everything goes smoothly. If you’re unsure about where to start or what tools you’ll need, stick around to discover the essential details that can make this repair a success.
Key Takeaways
- Replacing a dryer heating element is manageable with basic tools and care.
- Always unplug the dryer and follow safety precautions before starting.
- Use the correct heating element for your specific dryer model.
- Carefully remove and reconnect wires to avoid damage or faults.
- Test the dryer after installation to confirm proper heating before regular use.
Tools You’ll Need to Replace a Dryer Heating Element
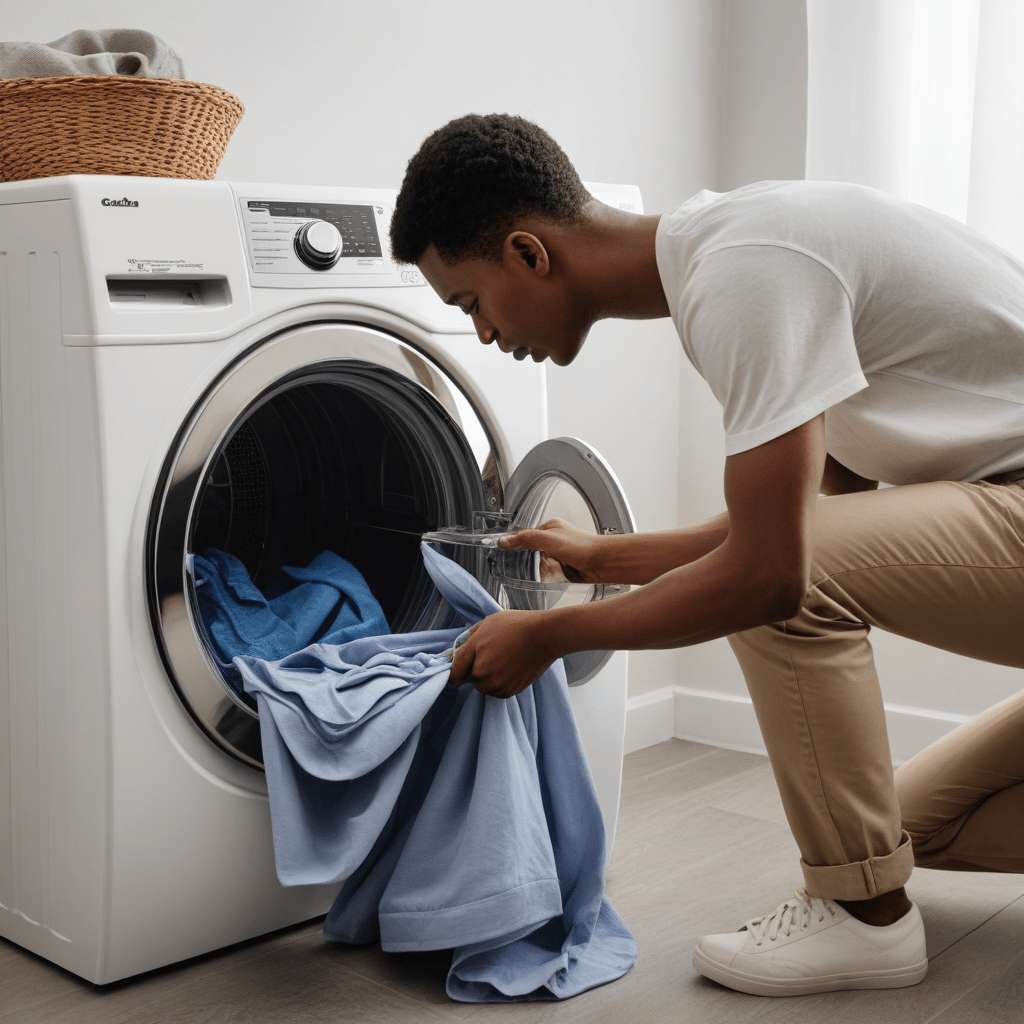
Gathering the right tools is essential for a successful dryer heating element replacement. First, you’ll need a new heating element specifically designed for your dryer model. Ensure it’s the correct type to avoid any compatibility issues.
Next, grab a torx head screwdriver; this will help you safely remove screws from the dryer’s back panel and the heating element itself.
Don’t forget to wear safety gloves for hand protection while working, as there may be sharp edges or components. A multimeter is optional but highly recommended for electrical testing; it’ll help you check for continuity in the heating element before replacement.
Additionally, consider getting replacement thermostats to ensure all components are functioning properly.
As you gather these tools, keep everything organized. This way, you won’t misplace any screws or components during the process. If you prepare in advance, you’ll find the replacement process goes much smoother, saving time and frustration.
With these tools in hand, you’ll be ready to tackle the heating element replacement effectively.
Safety Precautions
Before you start replacing the heating element, it’s important to prioritize safety. First, ensure that the dryer is switched off at the mains and unplugged. This step is crucial to prevent any electrical shock while you work on the appliance.
Always wear safety goggles to protect your eyes from any debris or dust that might be present. Avoid touching exposed wires, as they can still carry a charge even when unplugged.
Keeping your work area dry and clear of obstacles will help you avoid slips or accidents while you’re focused on the task at hand. If you’re using tools like screwdrivers, make sure they’re in good condition to prevent any injuries.
It’s also wise to wear safety gloves to protect your hands during the process, especially when handling sharp objects or components.
Finally, if you encounter any unexpected issues, don’t hesitate to consult a professional for assistance. By taking these precautions seriously, you’ll create a safer environment for yourself as you work on replacing the heating element.
Accessing the Heater Assembly
To access the heater assembly, start by removing the back panel of the dryer. Use a torx head screwdriver to unscrew the panel’s screws. Make sure to store the screws in a safe place, so you don’t lose them during the process.
Once the panel is off, you’ll have a clear view of the interior components.
Follow these steps to ensure a smooth process:
- Locate the heater assembly, usually positioned near the bottom or rear of the dryer housing.
- Take a photo before disconnecting anything to help with correct reassembly later.
- Carefully disconnect the wiring connectors, gripping the connectors—not the wires—to avoid damage.
- Check for lint buildup or visible damage around the heater and surrounding components.
- Keep all parts organised by placing screws and small components in a labelled container.
Once you’ve accessed the heater assembly, you’re ready to proceed with the next steps.
Removing the Old Heater Assembly
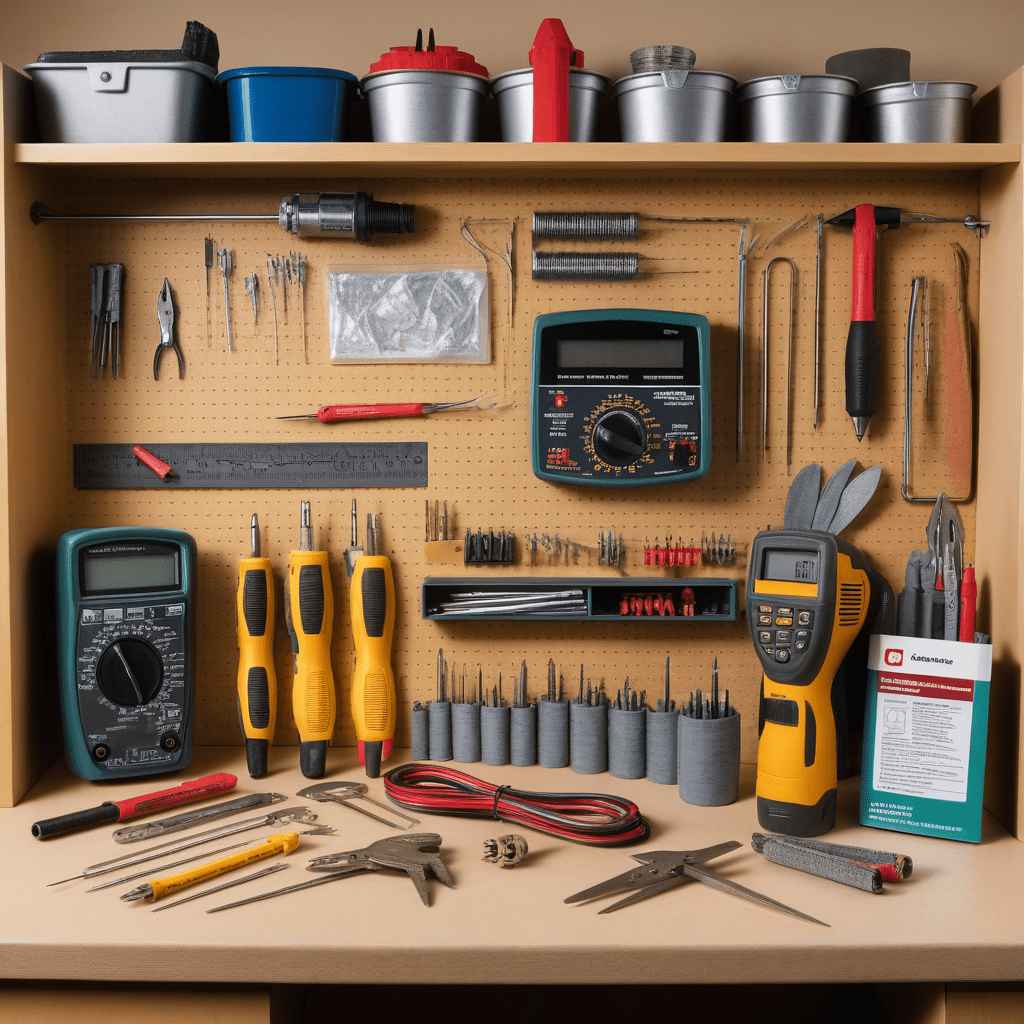
With the heater assembly now accessible, you can begin the process of removing the old heating element. Start by unscrewing the two screws that hold the heating element in place. Use your torx screwdriver for this. Next, locate the wire connector attached to the element. Unscrew this connector carefully, making sure not to lose any wires in the process. It’s crucial to detach the connector gently to avoid any damage.
Here’s a quick reference to guide you through the steps:
| Step | Description |
|---|---|
| 1. Unscrew heating element | Remove the two screws securing the element. |
| 2. Locate wire connector | Find the connector holding the wires. |
| 3. Unscrew connector | Carefully detach the connector. |
| 4. Inspect old element | Check for any visible damage or wear. |
| 5. Keep wires secure | Ensure wires don’t fall back into the dryer. |
After removing the old heating element, inspect it for signs of wear or damage. This will help you understand the issues you faced with the dryer. With these steps completed, you’re ready for the next phase of replacing the heating element.
If you notice any abnormal dryer heating element signs, such as discoloration or visible damage, it’s important to address these before installing the new heating element.
Taking the time to thoroughly inspect the old heating element can prevent future problems and ensure the longevity of your dryer. Once you’ve completed the inspection, you can proceed with installing the new heating element according to the manufacturer’s instructions.
Installing the New Heater Assembly
Now that you’ve removed the old heating element, it’s time to install the new one. Begin by positioning the new heater assembly into the same orientation as the old one. Make sure it fits snugly into place before securing it with the screw you saved earlier.
Next, reconnect the wires to the connector—this step is crucial for the element to function properly.
Follow these steps to ensure a smooth installation:
- Secure the heater assembly firmly using the original screw, ensuring it’s tight but not over-tightened.
- Double-check all wire connections to confirm they’re fully seated and correctly aligned.
- Inspect surrounding components to make sure no wires are pinched or touching moving parts.
- Reattach the dryer panel carefully, aligning it properly before tightening all screws.
- Clean out any lint or debris inside the dryer before closing it up to improve efficiency and safety.
Once you’ve completed these steps, it’s time to plug the dryer back in. Conduct a test run to ensure everything is functioning correctly.
If everything goes smoothly, you’ll be back to drying clothes in no time! Remember to keep an eye on it during the first cycle to confirm everything is working as expected.
Frequently Asked Questions
Conclusion
You’ve successfully replaced your dryer heating element! By following these steps, you’ve ensured your dryer is back in working order, ready to handle your laundry with efficiency. Remember to keep an eye on your dryer for any unusual signs in the future.
If you encounter any issues down the line, don’t hesitate to consult a professional. Enjoy your freshly dried clothes, and take pride in your handy work!
Need a spotless home or office while you focus on repairs like this?
At Cleaning Team services, we take care of the mess so you can enjoy a cleaner, fresher space—whether it’s house cleaning, apartment tidying, office cleaning, deep cleans, carpet & sofa cleaning, or after-builders clean-ups. Our fully insured and trusted cleaners use top-quality products and equipment to leave every surface sparkling.
Serving Dublin, Kildare, Meath, and parts of Wicklow & Louth, we make cleanliness easy and stress-free. Book online in minutes with same-day confirmations available—so you can relax while we handle the hard work. 🚀