How We Helped a Dublin Tenant Get Full Deposit Back
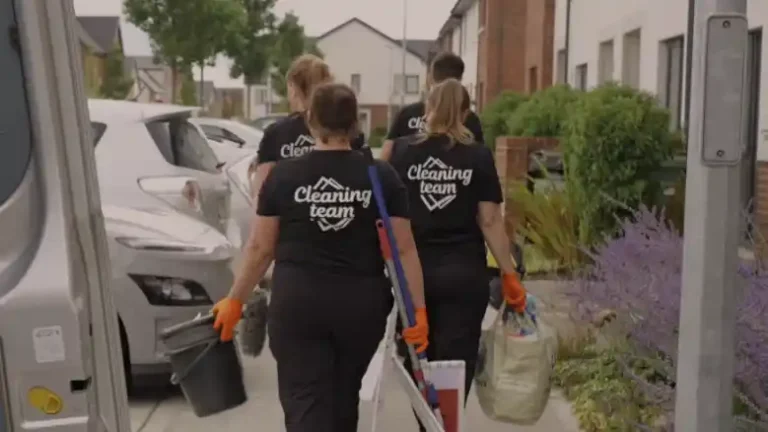
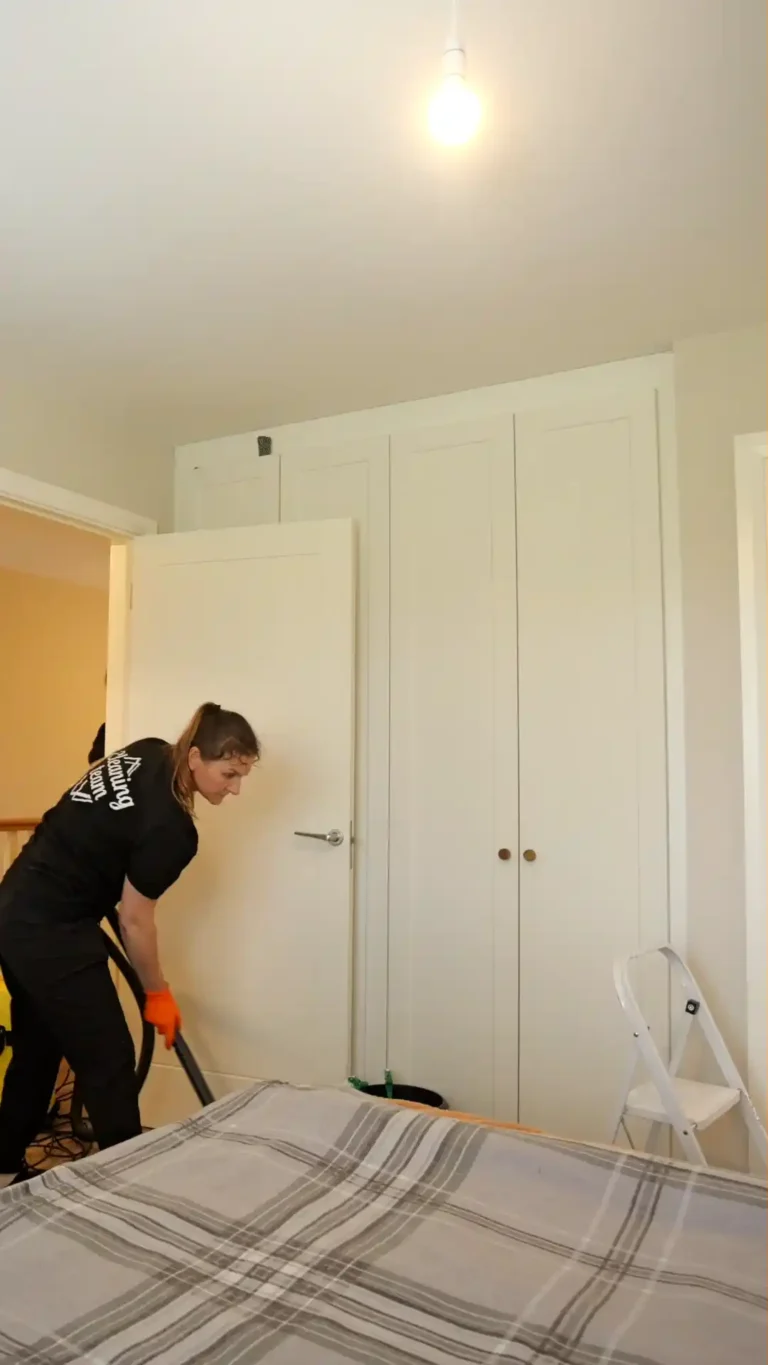
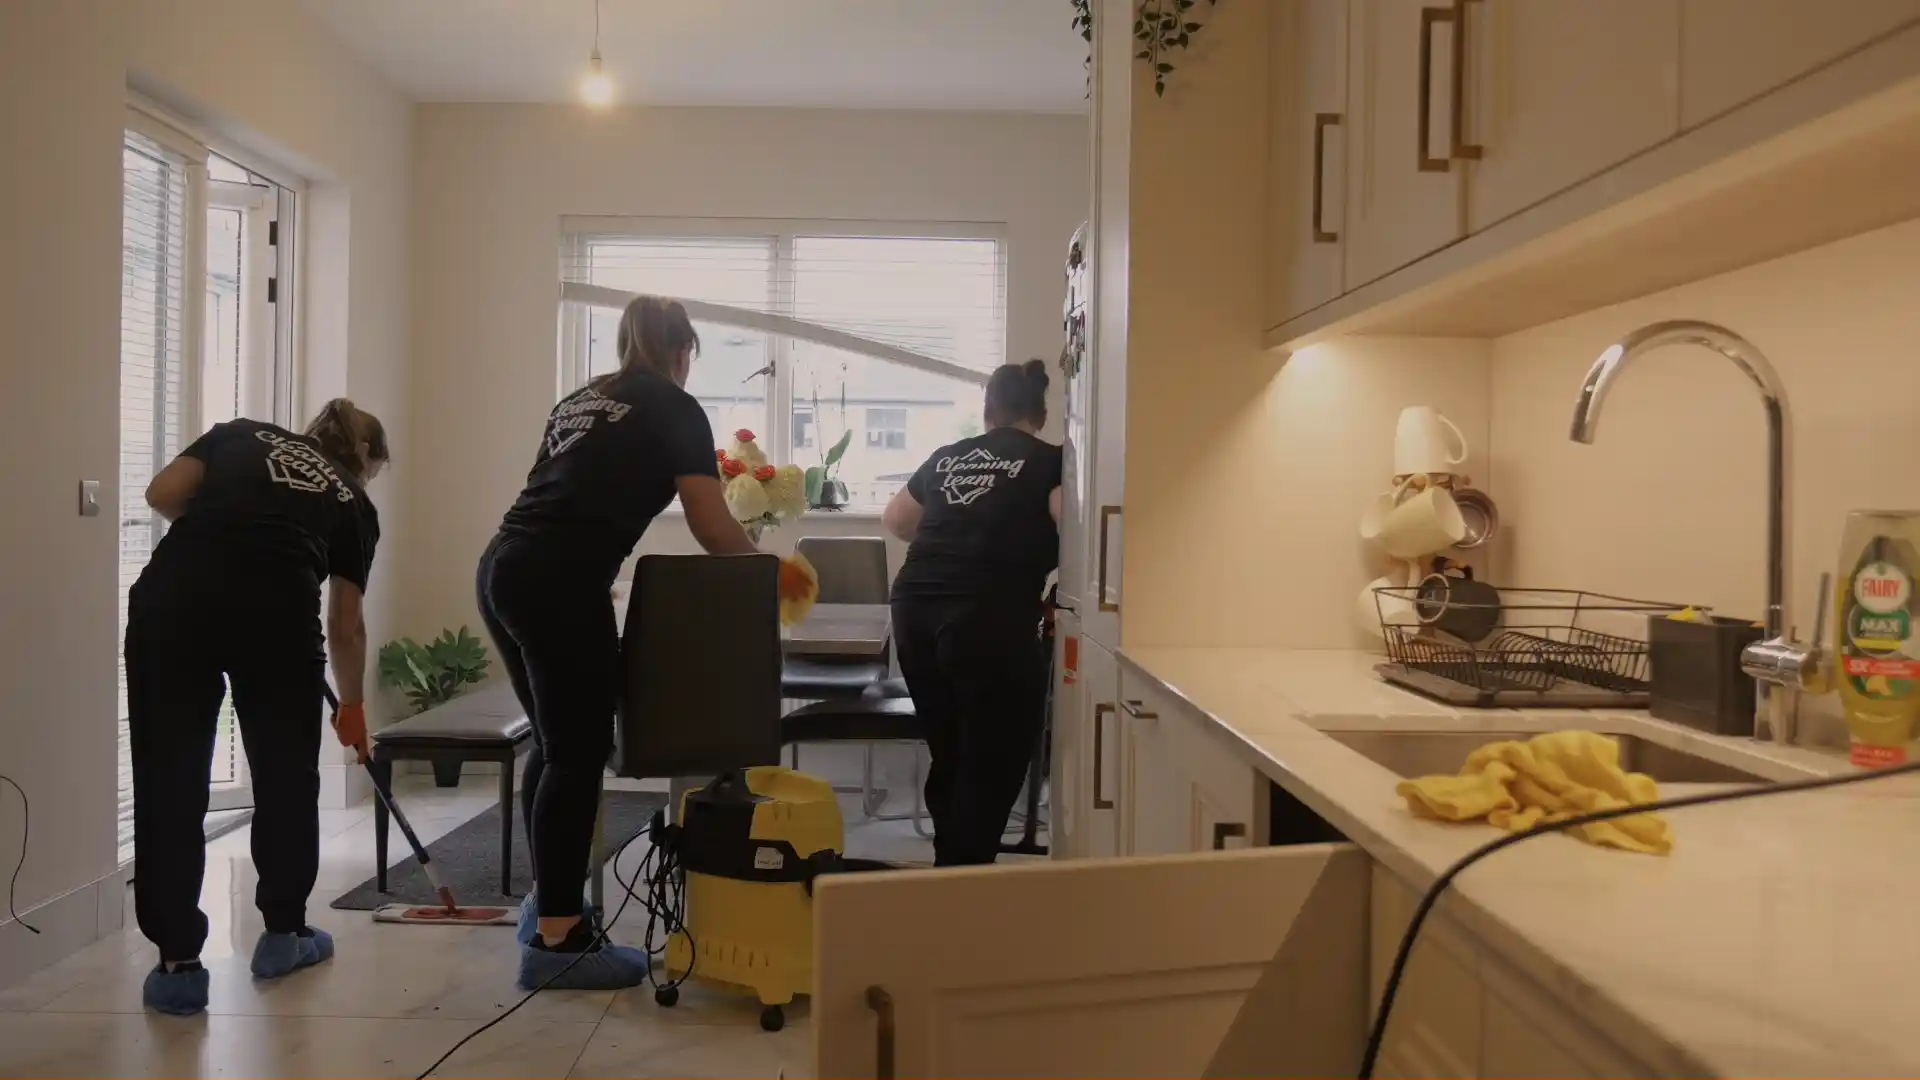
We helped a Dublin tenant secure a full deposit return by delivering a meticulous end of tenancy cleaning service that exceeded expectations. Before starting, our team assessed the property to identify key areas needing special attention. We maintained clear communication with both the tenant and landlord to ensure all cleaning standards were met.
Using a detailed room-by-room checklist, we made sure no area was overlooked — from kitchen appliances to carpets and bathrooms. Final inspections and proper documentation provided strong proof of the property’s pristine condition. Discover how our thorough approach made all the difference in helping our client move out stress-free and reclaim their full deposit.
Key Takeaways
- Conducted a thorough property assessment to identify cleaning needs and align with landlord expectations.
- Developed a detailed cleaning checklist covering all areas, ensuring no task was overlooked.
- Utilized professional cleaning techniques for kitchens and bathrooms, enhancing overall cleanliness and hygiene.
- Completed a meticulous final walk-through to confirm all spaces were spotless and clutter-free.
- Documented the entire cleaning process with photos and checklists, providing evidence for the landlord’s deposit return.
Deposit retention disputes at the RTB rose 50% between 2022 and 2024, according to our rental deposit statistics for Ireland.
Understanding the Importance of End of Tenancy Cleaning
When you think about moving out of a rental property, you might overlook how vital end of tenancy cleaning is. This step not only helps you leave the space in pristine condition but also guarantees you get your full deposit back.
A clean home reflects your respect for the property and builds a positive relationship with your landlord. By investing time in thorough cleaning, you’re demonstrating responsibility and care, which can make a lasting impression.
Plus, a spotless environment can ease your shift, allowing you to focus on settling into your next place. Ultimately, prioritizing end of tenancy cleaning can play an important role in your journey of finding belonging in a new home.
Initial Assessment of the Property
Before you start cleaning, it’s essential to assess the property’s condition.
This evaluation will help you identify specific cleaning requirements and allow you to review the inventory and checklist effectively.
Property Condition Evaluation
To guarantee a smooth changeover between tenants, conducting a thorough property condition evaluation is essential.
This initial assessment helps you understand the current state of your property and identify any necessary repairs or improvements.
Here are four key aspects to focus on during the evaluation:
- Walls and Ceilings: Check for cracks, stains, or peeling paint that could indicate underlying issues.
- Floors: Inspect for scratches, stains, or damages that may require refinishing or replacement.
- Fixtures and Fittings: Ascertain all light fixtures, faucets, and appliances are in working order and free from damage.
- Exterior: Examine the exterior for any damages to siding, windows, or landscaping that may need attention.
Cleaning Requirements Identification
How can you guarantee your property is left in pristine condition for the next tenant? Start by conducting a thorough initial assessment of your space.
Walk through each room and take note of areas that need attention. Look for dust buildup, stains on carpets, and grime in kitchens and bathrooms.
Pay close attention to appliances, fixtures, and windows—these often require extra care. Make a list of specific cleaning tasks needed to bring your property back to its best.
Identifying these cleaning requirements sets the foundation for a successful end of tenancy cleaning. By doing this, you ascertain your property feels inviting and welcoming, helping the next tenant instantly feel at home and maximizing the chances of receiving your full deposit back.
Inventory and Checklist Review
Once you’ve identified the cleaning requirements, it’s time to tackle the inventory and checklist review. This step guarantees you cover every aspect of the property, setting you up for a full deposit return.
Start by gathering your inventory list and checking off each item.
- Furniture Condition: Inspect each piece for any damage or wear.
- Appliances: Verify all appliances are clean and functional.
- Walls and Floors: Look for scuff marks, stains, or signs of wear.
- Windows and Fixtures: Check for cleanliness and any needed repairs.
Communicating With the Landlord
When should you reach out to your landlord about end of tenancy cleaning?
You’ll want to communicate with them well before your move-out date. It’s best to discuss your cleaning plans at least a few weeks in advance to guarantee everyone’s on the same page.
This way, you can clarify what they expect and address any specific concerns.
Don’t hesitate to ask questions about the cleaning standards they’ve in mind. A friendly, open conversation can foster a sense of community and belonging.
If you’re hiring professionals, let your landlord know, as this shows your commitment to leaving the property in great shape.
Ultimately, clear communication paves the way for a smooth end to your tenancy and a full deposit return.
Creating a Cleaning Checklist
Creating a cleaning checklist is vital for a successful end of tenancy clean.
You’ll want to identify essential cleaning tasks and break them down by room to guarantee nothing gets overlooked.
This approach not only makes the process more manageable but also helps you meet your landlord’s expectations.
Essential Cleaning Tasks
As you prepare for end of tenancy cleaning, having a thorough checklist can make the process smoother and more efficient.
You want to guarantee every corner is spotless, and a checklist helps keep you focused. Here are four essential tasks to include:
- Kitchen Deep Clean: Scrub appliances, wipe down surfaces, and clean the inside of the fridge and oven.
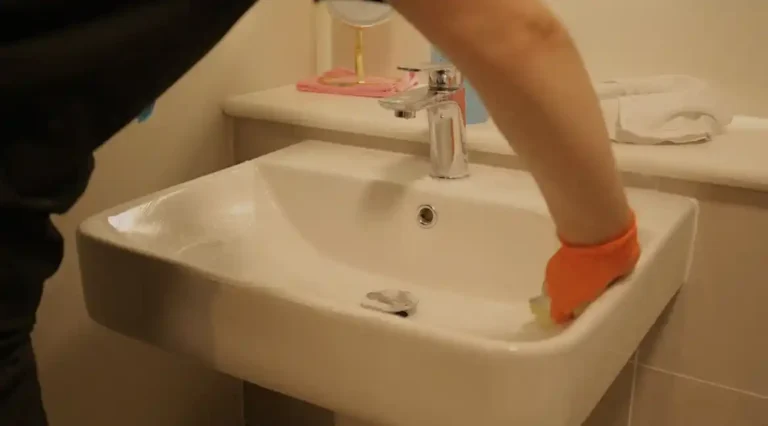
- Bathroom Sanitation: Disinfect toilets, showers, and sinks, ensuring all grime is removed.
- Floor Care: Vacuum carpets and mop hard floors to eliminate dust and stains.
- Window Washing: Clean both the interior and exterior of windows for a polished look.
Completing these tasks won’t only help you reclaim your deposit but also create a welcoming space for future tenants.
Room-by-Room Breakdown
To guarantee nothing is overlooked, a room-by-room breakdown for your cleaning checklist is a smart move.
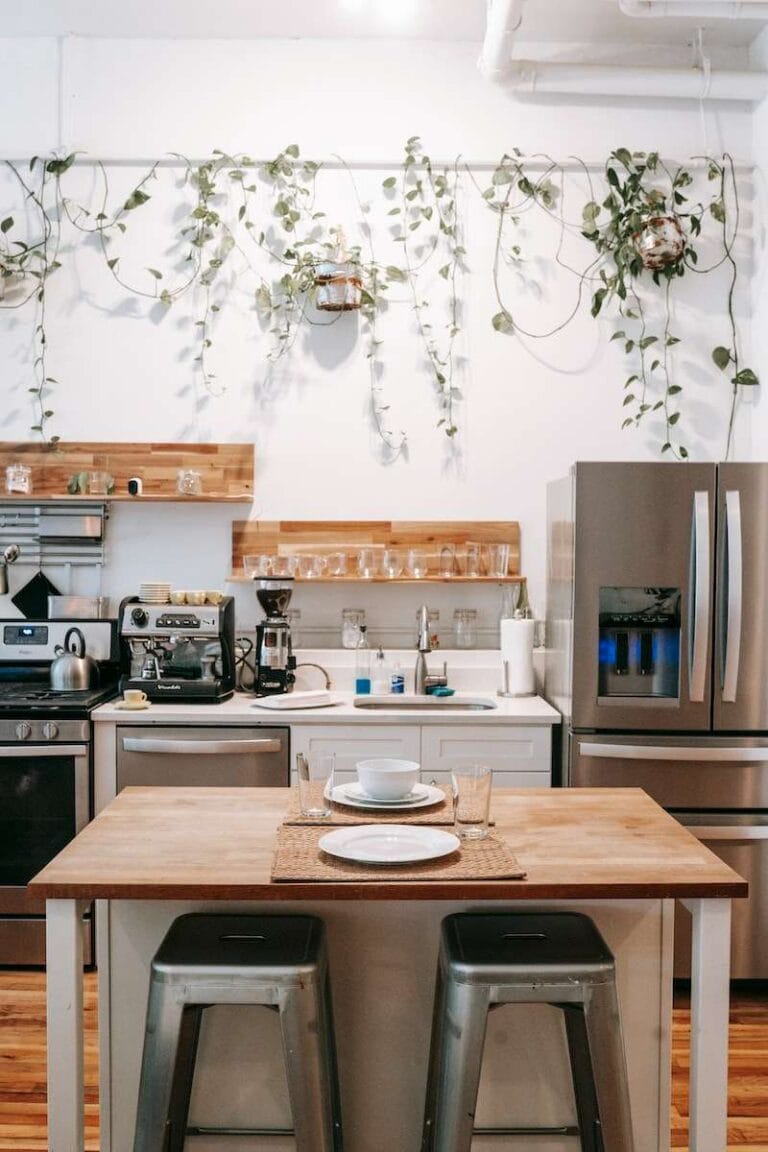
Start with the kitchen: tackle appliances, countertops, and floors.
In the living room, dust surfaces, vacuum carpets, and wipe down furniture.
For bedrooms, focus on dusting, changing bed linens, and cleaning windows.
Don’t forget the bathrooms! Scrub toilets, sinks, and showers, and mop the floors.
Finally, think about the hallways and entryways; a quick sweep and dust can make a big difference.
As you check off each task, you’ll feel more at home in your space, ready to impress your landlord.
A detailed checklist guarantees you’ll leave no corner dirty, making your move-out process smoother.
Gathering the Right Cleaning Supplies
Gathering the right cleaning supplies is essential for a successful end of tenancy clean.
You’ll want to guarantee you have everything you need to make your space shine and leave a lasting impression.
Here’s a list of must-have supplies:
- All-Purpose Cleaner: Ideal for tackling various surfaces and stains.
- Microfiber Cloths: Great for dusting and wiping down surfaces without leaving streaks.
- Scrub Brushes: Perfect for those tougher spots that need extra elbow grease.
- Vacuum Cleaner: A reliable vacuum will help you reach every corner and remove dust and debris.
Deep Cleaning the Kitchen
When it’s time to deep clean the kitchen, you’ll want to focus on essential areas like the appliances, countertops, and cabinets.
Using effective cleaning techniques will guarantee every corner sparkles and is hygienic for the next tenant.
Let’s explore how to tackle this vital part of the end of tenancy cleaning process.
Essential Kitchen Areas
A thorough deep cleaning of essential kitchen areas can make a significant difference in the overall appeal of your property.
When potential tenants step into a spotless kitchen, they’ll feel more at home and enthusiastic to make it their own.
Focus on these key areas:
- Countertops: Wipe down all surfaces, removing stains and grime to create a pristine look.
- Appliances: Clean the oven, refrigerator, and microwave, ensuring they’re free of grease and odors.
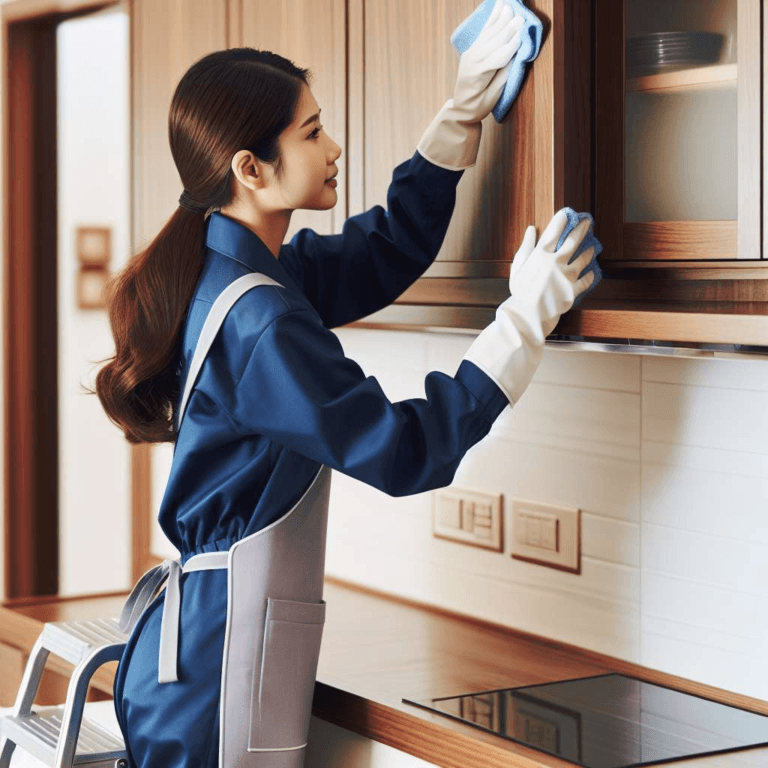
- Cabinets: Dust and clean interior and exterior surfaces, giving them a fresh appearance.
- Sink: Scrub the sink and faucet, ensuring they shine and are free of water spots.
Effective Cleaning Techniques
To effectively deep clean your kitchen, start by gathering the right tools and cleaning solutions that can tackle tough stains and grime. A clean kitchen not only enhances your space but also creates a welcoming atmosphere for friends and family. Here’s a quick guide to help you focus your efforts:
| Area to Clean | Cleaning Technique |
|---|---|
| Countertops | Use a multi-surface cleaner and a microfiber cloth. |
| Oven | Apply oven cleaner, let it sit, then scrub away residue. |
| Refrigerator | Empty it, wipe down shelves with a vinegar solution. |
| Sink | Scrub with baking soda and rinse with hot water. |
With these techniques, your kitchen will shine, making it a place everyone wants to gather. You’ll feel proud to invite others in!
Restoring the Bathroom to Its Former Glory
Restoring the bathroom to its former glory involves a focused approach to cleaning and maintenance that guarantees every surface shines.
You want your space to feel welcoming and fresh for the next tenant. Here’s how to achieve that:
- Deep Clean the Fixtures: Use a suitable cleaner to remove limescale and soap scum from faucets and showerheads.
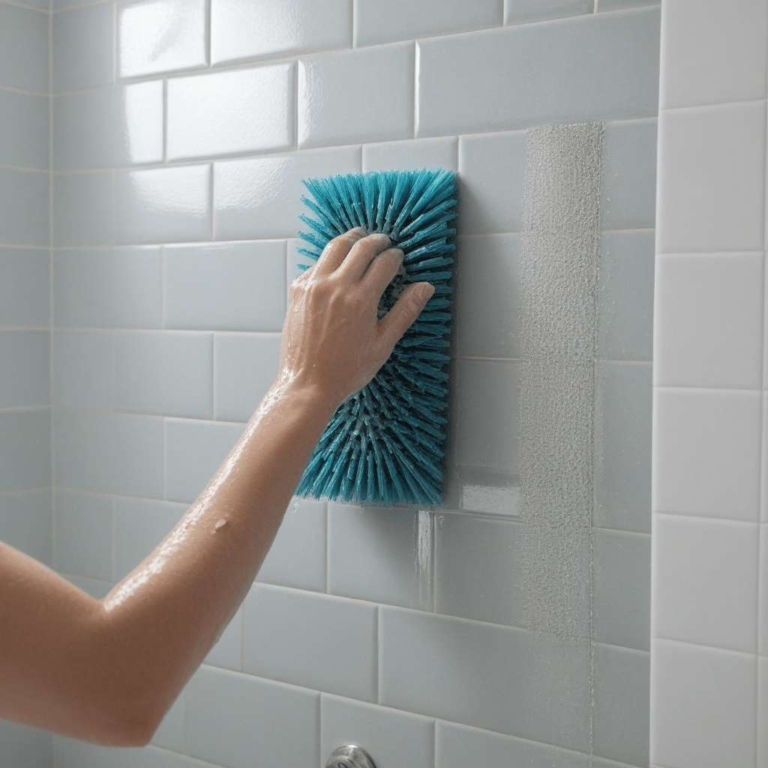
- Scrub the Tiles: Pay attention to grout lines; a toothbrush can work wonders for stubborn stains.
- Polish Mirrors: A streak-free cleaner assures mirrors sparkle, adding brightness to the room.
- Check for Mold: Treat any mold with a specialized solution, keeping the bathroom healthy and inviting.
Reviving Living Spaces and Bedrooms
While revitalizing living spaces and bedrooms, you want to create an inviting atmosphere that appeals to potential tenants. Focus on cleanliness and warmth to help them envision making it their home. Here are some key steps to contemplate:
| Task | Purpose |
|---|---|
| Declutter | Opens up space and feels welcoming |
| Deep Clean Surfaces | Guarantees a fresh, hygienic environment |
| Add Soft Textiles | Creates warmth and comfort |
| Use Neutral Colors | Provides a blank canvas for personalization |
Tackling Carpets and Flooring
Carpets and flooring often take the brunt of daily wear and tear, making them essential to address during end-of-tenancy cleaning.
To guarantee you leave a lasting impression, follow these steps:
- Vacuum Thoroughly: Remove dust and debris, paying special attention to corners and under furniture.
- Spot Clean Stains: Use a suitable cleaner to tackle any stains and prevent permanent damage.
- Shampoo Carpets: Consider steam cleaning for a deep clean that revives fibers and eliminates odors.
- Inspect Flooring: Check for scratches or damage on hardwood and tile, and address any issues promptly.
Final Touches and Inspections
After addressing carpets and flooring, it’s time to focus on the final touches and inspections that can make a significant difference in your end-of-tenancy cleaning.
Start by checking all surfaces for dust and smudges—don’t overlook light fixtures and baseboards. Guarantee windows are spotless, allowing natural light to shine through.
Next, inspect each room for any remaining clutter or personal items; a clean space feels welcoming. Pay attention to kitchen appliances and bathrooms, as these areas can leave a lasting impression.
Finally, do a thorough walk-through to identify anything you might’ve missed. This attention to detail not only showcases your commitment but also enhances your chances of a full deposit return, making your change smoother and more satisfying.
Documenting the Cleaning Process
To guarantee you leave no stone unturned during your end-of-tenancy cleaning, documenting the process is essential. This not only provides evidence of your hard work but also helps you stay organized.
Here’s how to effectively document your cleaning:
- Take Before and After Photos: Capture the state of each room before you start and after you finish to showcase your efforts.
- Create a Cleaning Checklist: Write down all tasks completed, ensuring nothing is overlooked.
- Record Dates and Times: Note when each area was cleaned, creating a timeline of your work.
- Keep Receipts: Save any invoices from cleaning supplies or services used, which can be useful for verification.
The Impact of Professional Cleaning on Deposit Returns
When you choose to invest in professional cleaning services for your end-of-tenancy, you greatly boost your chances of a full deposit return. A clean, well-maintained property not only impresses landlords but also reflects your respect for the space you called home.
Professional cleaners tackle every nook and cranny, ensuring that dirt and grime don’t stand in the way of your deposit. This level of cleanliness can help you avoid disputes over damages or excessive wear and tear.
Plus, many landlords appreciate the effort, making them more likely to return your full deposit without hesitation. By prioritizing professional cleaning, you’re creating a positive impression that fosters trust and belonging, ultimately securing your financial peace of mind.
Frequently Asked Questions
How Much Does Professional End of Tenancy Cleaning Typically Cost?
Professional end of tenancy cleaning typically costs between €100 to €300, depending on the property’s size and condition. You’ll find that investing in quality cleaning can save you money on potential deposit deductions.
What Guarantees Do Cleaning Companies Provide for Deposit Returns?
You won’t find a cleaning fairy, but reputable companies offer satisfaction guarantees. They’ll promise to rectify any missed spots, ensuring you and your landlord can hug it out over that full deposit return. Isn’t that comforting?
Can I Do the Cleaning Myself Instead?
You can definitely do the cleaning yourself, but it might not meet the high standards landlords expect. Hiring professionals guarantees a thorough job, boosting your chances of getting that full deposit back without stress.
How Long Does a Professional Cleaning Service Usually Take?
A professional cleaning service typically takes between two to six hours, depending on the size of the property and the level of cleaning required. You’ll appreciate the thoroughness and attention to detail they bring!
What if the Landlord Still Disputes the Cleaning Results?
If your landlord disputes the cleaning results, don’t sweat it. Gather evidence, like before-and-after photos, and communicate openly. You’ll find that clarity often helps resolve misunderstandings and keeps everyone on the same page.
Conclusion
Securing your full deposit doesn’t have to be stressful — with professional end of tenancy cleaning, it’s entirely achievable. Our Dublin tenant’s experience proves that attention to detail, proper documentation, and expert techniques can make all the difference.
By investing in a trusted cleaning service, you not only leave the property in pristine condition but also demonstrate respect and responsibility to your landlord. This proactive approach helps you avoid disputes, gain peace of mind, and walk away with your full deposit returned.
At the end of the day, professional cleaning isn’t just about spotless results — it’s about finishing your tenancy on a high note and starting your next chapter with confidence.
Ready to Get Your Full Deposit Back?
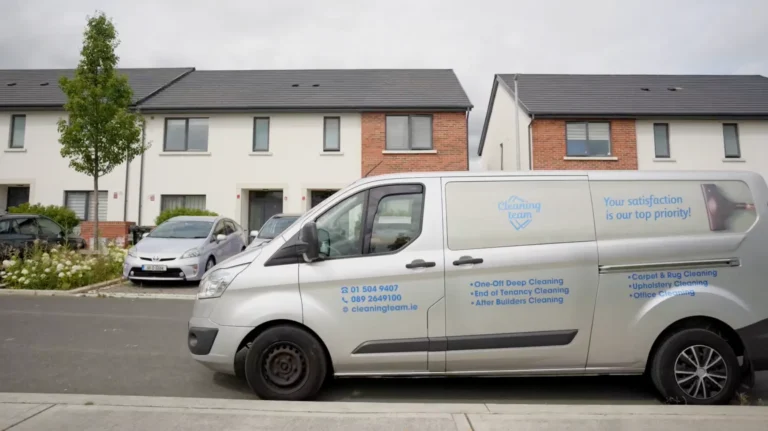
Don’t leave your deposit to chance. Our professional end of tenancy cleaning service in Dublin guarantees a spotless property that meets the highest landlord standards. With our comprehensive checklist, professional-grade equipment, and satisfaction guarantee, we’ll help you secure your full deposit return just like we did for this Dublin landlord.
Book your end of tenancy clean today and join hundreds of satisfied clients who’ve received their deposits back in full.